Easy DIY Bluth Frozen Banana Stand Photo Booth
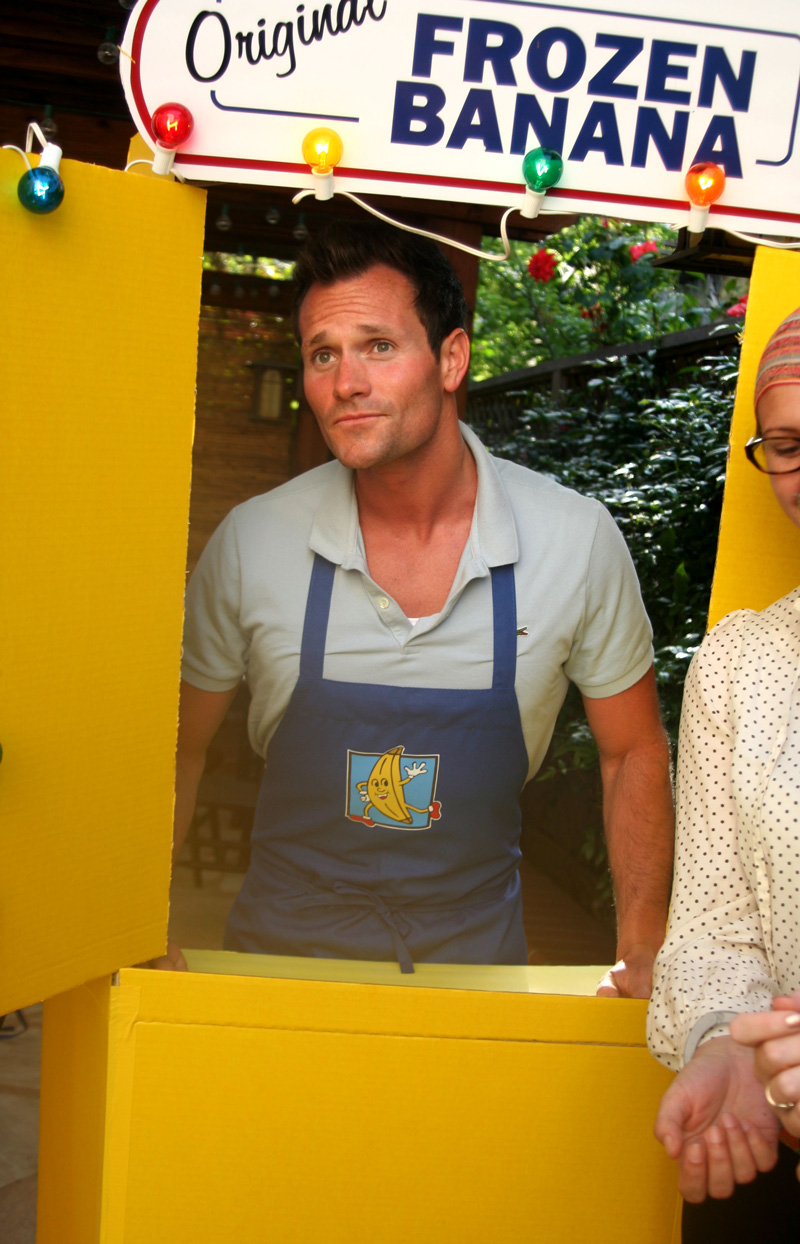
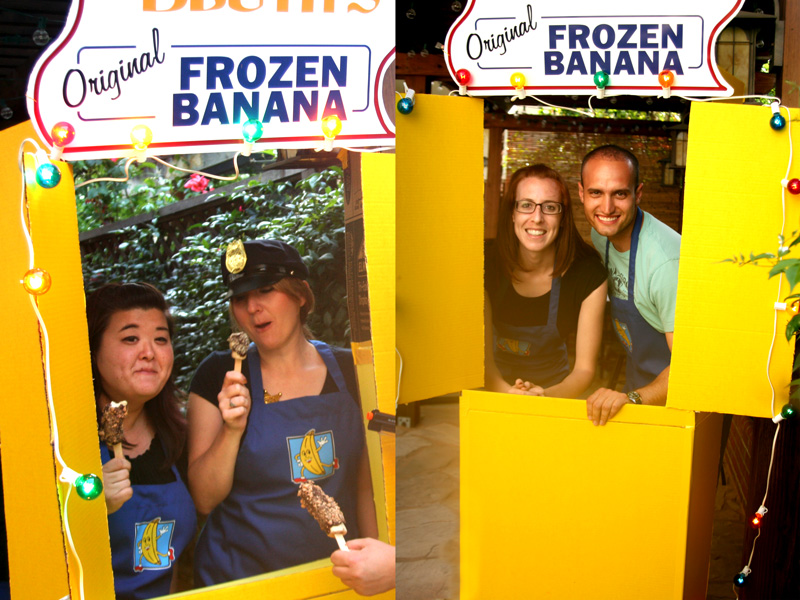
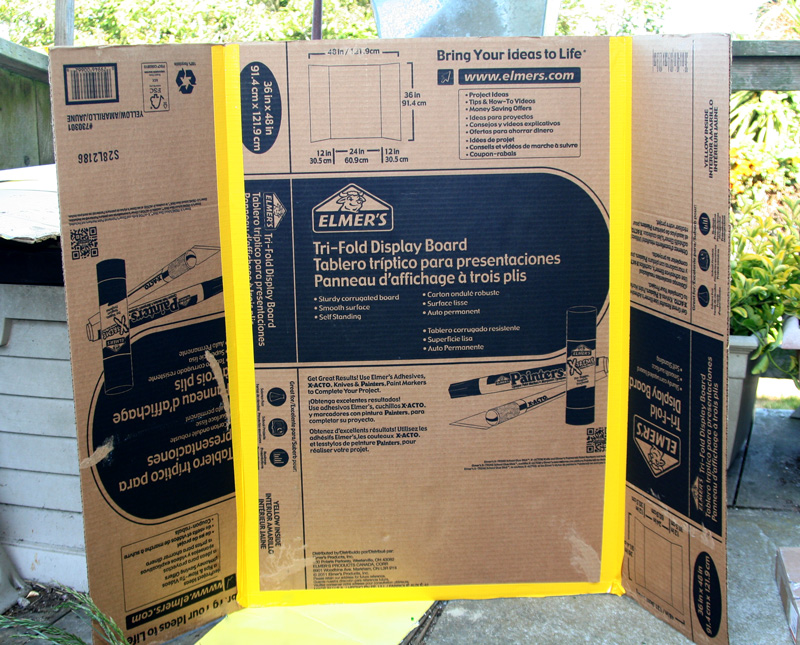
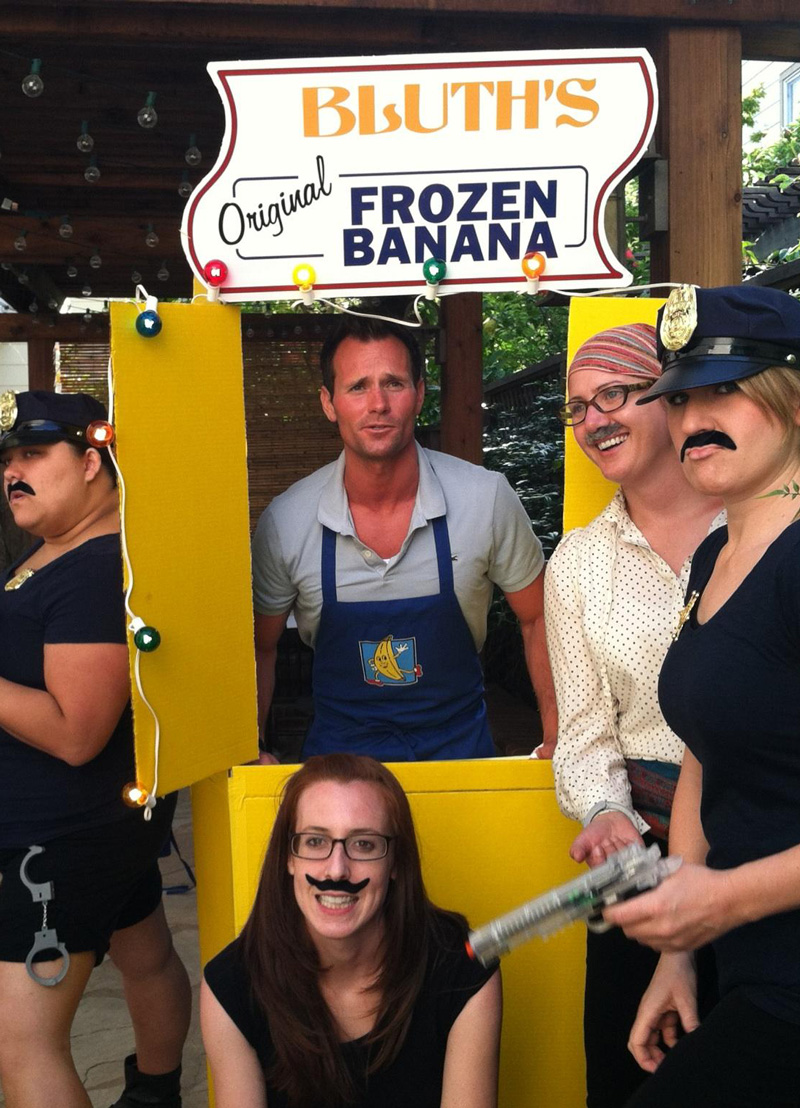
One of the first plans I had for the Arrested Development party was to do a banana stand photo booth, but I didn’t really want to spend a lot of time or money building one. Thankfully, I found tri-fold cardboard (the kind for science fair projects) that was already yellow and about the right size, which made the whole process quick and easy to assemble with no construction skills required!
If you can’t find yellow, of course you can paint your own. If you can’t find the tri-fold board at all, you will need 2 24″x36″ pieces of foam core board or heavy cardboard and 4 12″x36″ boards.
Don’t forget to make some banana stand aprons to pose in!
You will need:
- 2 yellow 48″x36″ tri-fold project boards (these are from Michael’s)
- 2-4 sheets of foamcore board (dollar store)
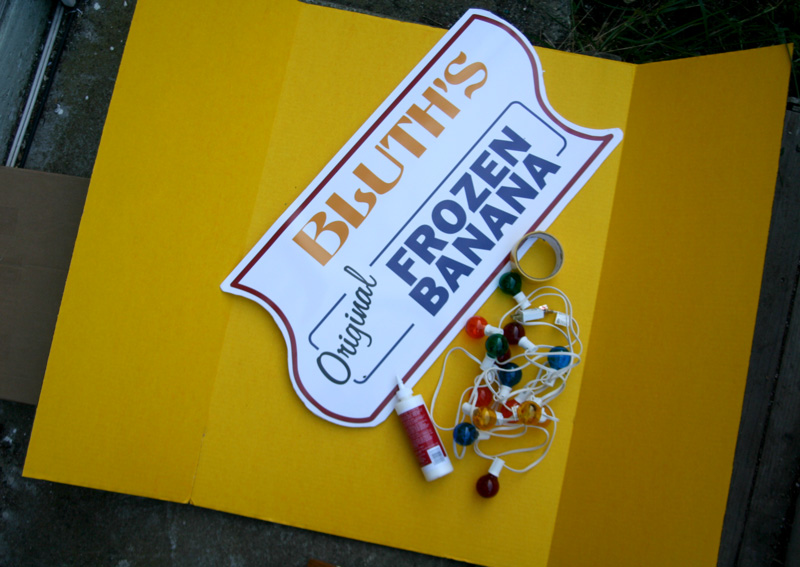
- string of large colored lights (these are from Party City)
- roll of yellow duct tape (yellow if you can find it- got this roll at Party City)
- heavy glue (or more tape)
- x-acto knife or box cutter
- Bluth Frozen Banana Stand Sign (see below)
- Optional: 1 additional yellow tri-fold board to create curved banana top
Bottom half:
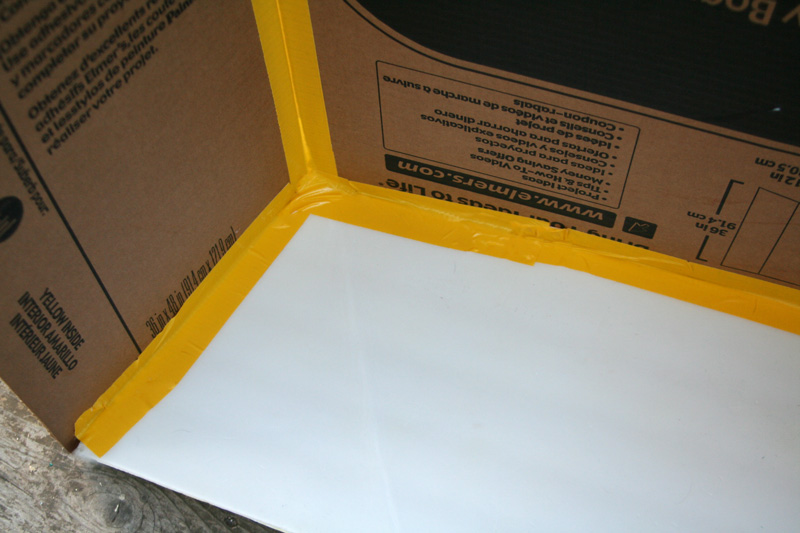
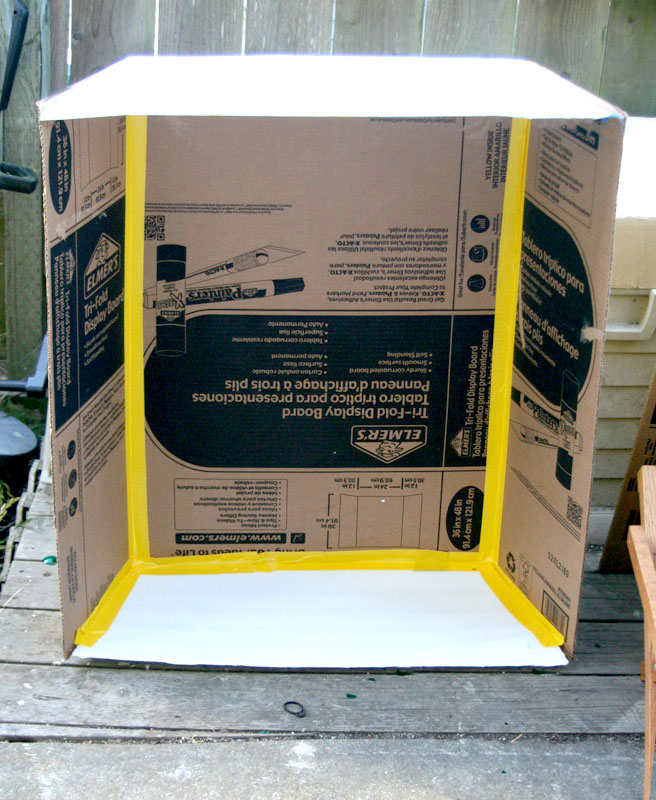
The tri-fold board is the right idea, but it currently folds in the wrong direction. With an x-acto knife or box cutter, carefully slice between cardboard pieces of the first tri-fold board to separate into three pieces. Re-assemble pieces, yellow side down, and tightly tape together with duct tape along the seams. Flaps should now fold in the correct direction. At this point with the flaps at the correct angle, you can also seal up the outside seam with yellow duct tape if desired.
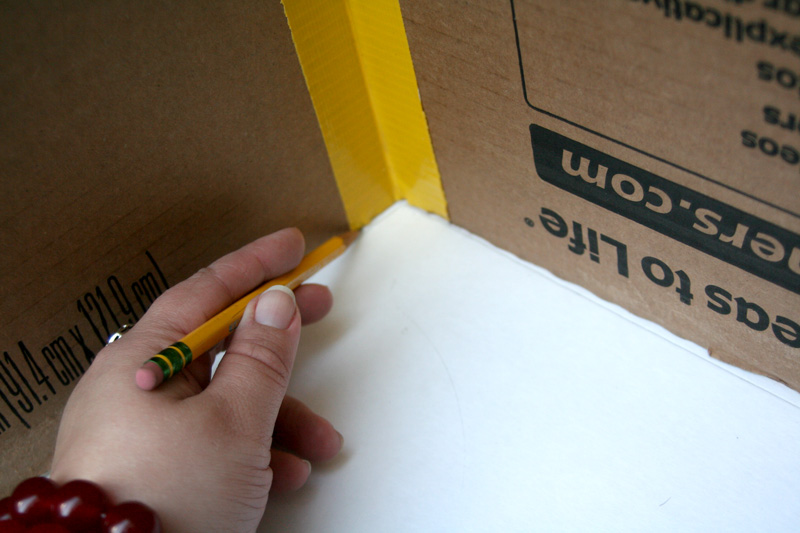
Stand the board up and angle sides to desired angle. Place over a piece of foam core and trace the inside, creating a trapezoid shape (trapezoid does not need to be full depth of tri-fold board). Cut 4 trapezoids.
With tape or heavy-duty glue, attach trapezoid to bottom inside of tri-fold board.
Then attach a second to the very top. Reserve remaining two trapezoids for top half.
Top half:
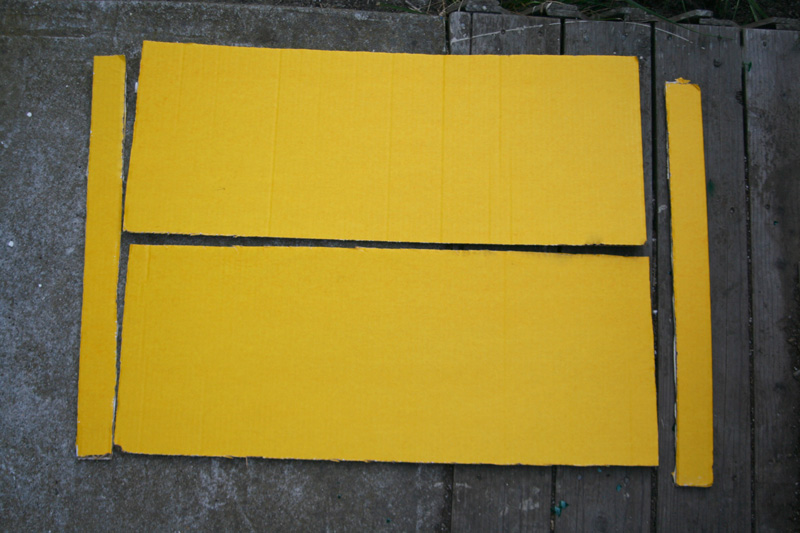
With the second tri-fold board, once again carefully separate into three pieces. Before reassembling, this time we need to make a window. Using center (widest) piece, cut a 3 inch strip off the top, and a 3 inch strip off the bottom. These pieces will be the top and bottom of the window. With remaining piece, cut in half lengthwise to create shutters.
Set shutters aside and reassemble pieces with yellow side down, leaving open the space where shutter pieces used to be. Tape seams to connect sides with top and bottom strip.
Attach trapezoids to top and bottom of assembled board.
Final assembly:
Stack top half over bottom half. Attach top trapezoid of bottom half to bottom trapezoid of top half with heavy glue or duct tape. Attach Bluth Banana Stand sign to top strip above the window. Find a good angle for the shutters and tape into place from the back. Attach lights (mine have clips).
Optional: Cut a curved banana top from the 3rd board. We didn’t have space to add this for ours.
Bluth Frozen Banana Stand Sign
I did my best to re-create the Bluth Frozen Banana stand sign. I had it printed as a 20″x30″ enlargement/poster at Costco Photo Center (only $8.99 and available to pick up just hours later, love you Costco). You can order them already mounted on a board, or I mounted my own by using spray adhesive onto a sheet of foam core board. Trim carefully with a sharp x-acto knife.
Free printable Bluth Frozen Banana Stand sign for download (click through all the way for full size)

